Directions:
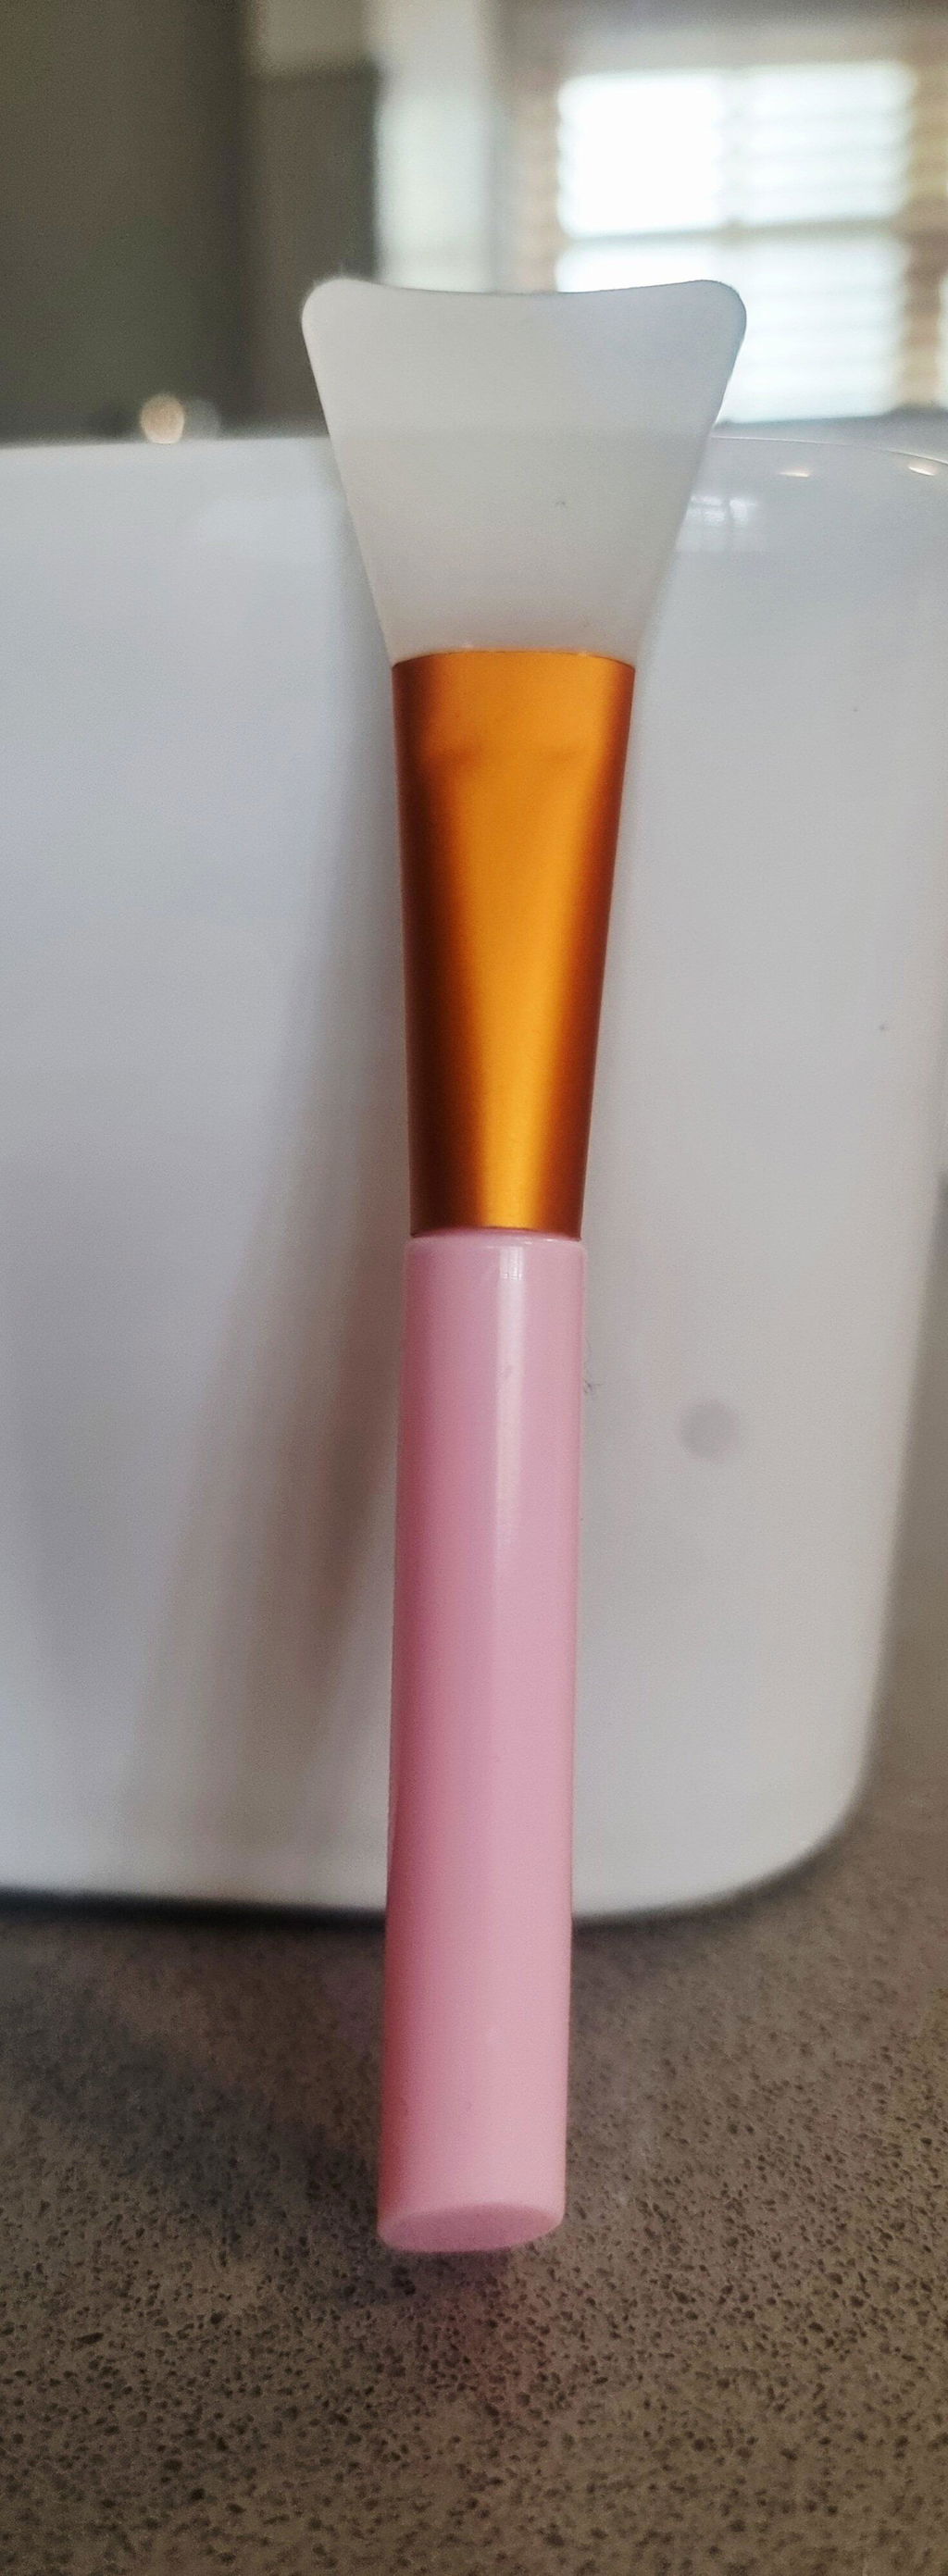
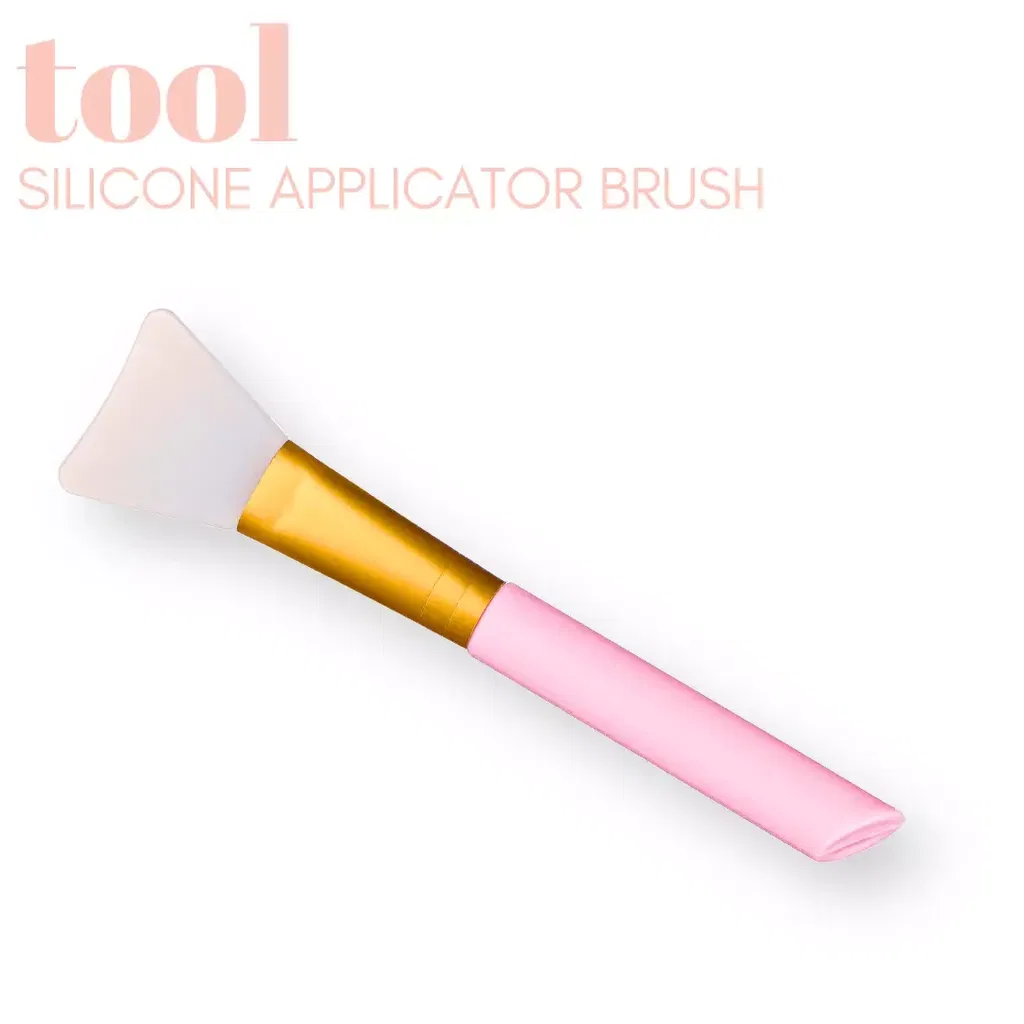
A silicone facial mask brush is a handy tool for applying facial masks, whether they are clay masks, peel-off masks, or gel masks. Using a silicone brush can help you apply your mask more evenly and with less mess. Here's a step-by-step guide on how to use a silicone facial mask brush:
Step 1: Gather Your Supplies
Before you begin, make sure you have the following items:
Silicone facial mask brush
Facial mask of your choice
Step 2: Prepare Your Face
Start with a clean face. Remove any makeup or dirt by washing your face with a gentle cleanser. You can also use a warm, damp washcloth to open up your pores.
Step 3: Apply the Mask
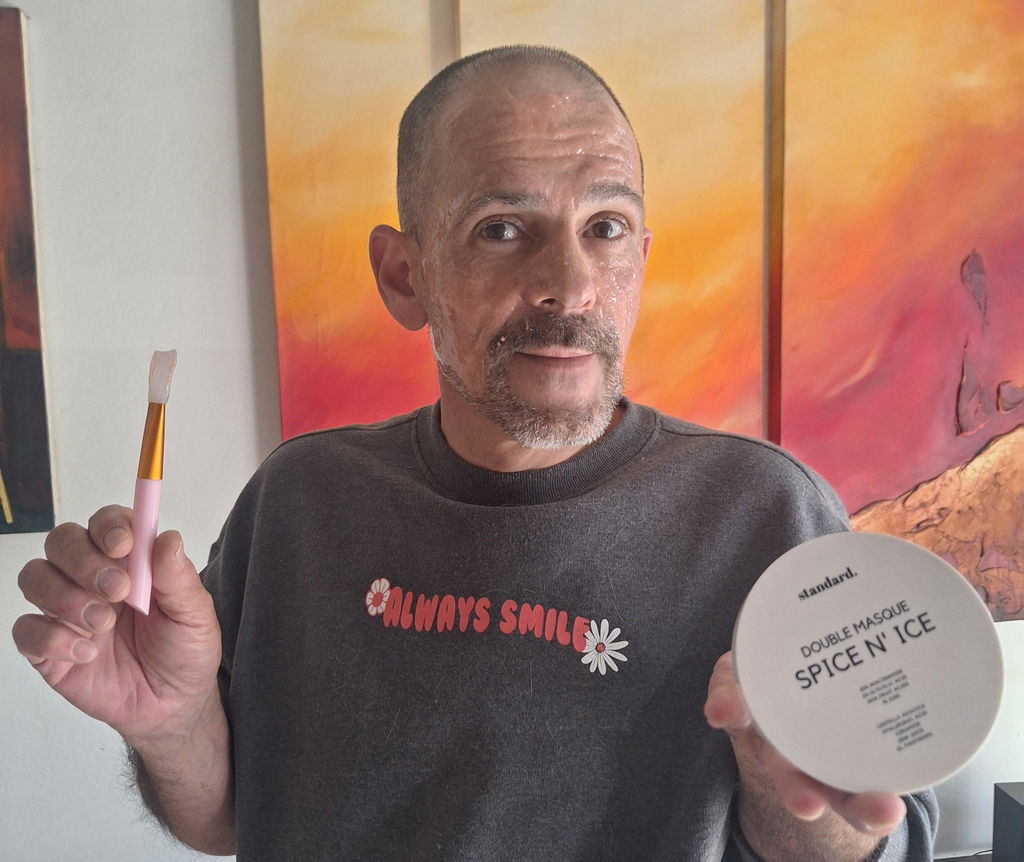
Scoop out the desired amount of your chosen facial mask onto a clean surface or into a mixing bowl. Then, dip the silicone facial mask brush into the mask and start applying it to your face. Here's how to do it:
Start at the center of your face, typically the forehead or nose.
Use the brush to spread the mask in even, upward strokes, moving outward toward your hairline.
Avoid the delicate eye and lip areas.
Ensure an even layer without any gaps or streaks.
Step 4: Clean the Brush
After applying the mask, rinse the silicone facial mask brush under running water or wipe it clean with a damp cloth. This ensures that the brush is ready for your next use and prevents the mask from drying on it.
Step 5: Relax and Let the Mask Dry
Follow the mask's instructions for the recommended drying time. This usually takes about 10-20 minutes. While waiting, you can relax and enjoy a soothing spa experience.
Step 6: Apply Your Skincare Products
After removing the mask, apply your usual skincare products like toner, serum, and moisturizer to replenish and nourish your skin.
Using a silicone facial mask brush can make the application of masks more convenient and hygienic. It also prevents you from wasting product as the brush ensures an even and controlled application. Make sure to clean your brush thoroughly after each use to maintain proper hygiene and prolong its lifespan.
ㅤ
Do's & Don'ts:
This product is